If you have an order open and the clock is ticking, you do not need a crypto lecture. You need USDT in hand, sent to the right address, on the right network, without paying a stupid fee or watching it bounce into the void.
This is the straight path – how to buy USDT and send it like someone who has done it before.
Before you touch “Buy”: the 3 choices that decide everything
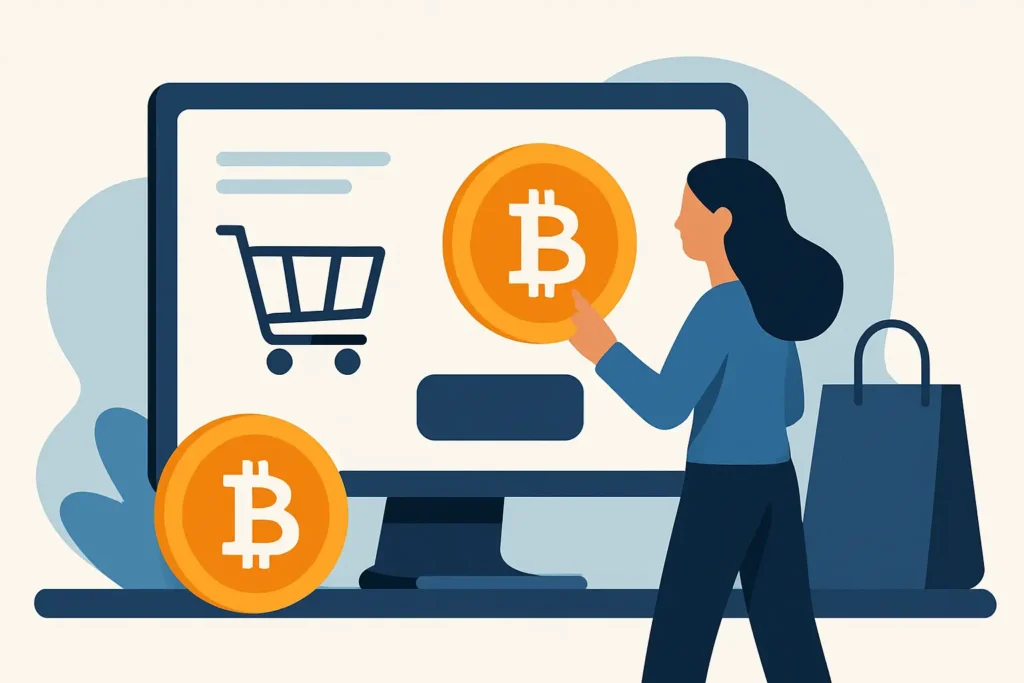
USDT is a stablecoin, meaning it is designed to track the US dollar. That is why people use it for fast settlement and predictable totals. But USDT is not “one thing” in the wild. It lives on multiple networks, and the network you choose determines whether your transfer arrives or disappears.
First choice: where you buy. Most people use a centralized exchange because it is fastest for converting dollars to USDT. Some use peer-to-peer (P2P) marketplaces for privacy or bank flexibility, but P2P adds counterparty risk and usually takes longer.
Second choice: custody. You can hold USDT on the exchange temporarily, or move it to a self-custody wallet (you control the keys). For sending a payment, you can do either. The trade-off is simple: exchanges are convenient, self-custody is control.
Third choice: network. You will commonly see Ethereum (ERC20), Tron (TRC20), and sometimes Solana or others. The address format and fees vary. ERC20 is widely supported but often higher fee. TRC20 is often cheaper and fast. What matters is that the sender network must match the receiver network. Same token, wrong chain = bad day.
Step 1: Pick your “buy USDT” route (card, bank, or P2P)
If speed is your priority, debit card purchase is usually the fastest path to having USDT available. The trade-off is higher fees and sometimes lower limits or extra verification. Bank transfer (ACH) is typically cheaper, but it can take longer to clear. If you are trying to send within minutes, card wins more often.
P2P can work if your bank blocks exchanges or you want more payment method options. But P2P requires patience and attention. You are dealing with a human on the other side, and disputes waste time. If you go P2P, only use platforms with escrow and complete the steps exactly as instructed.
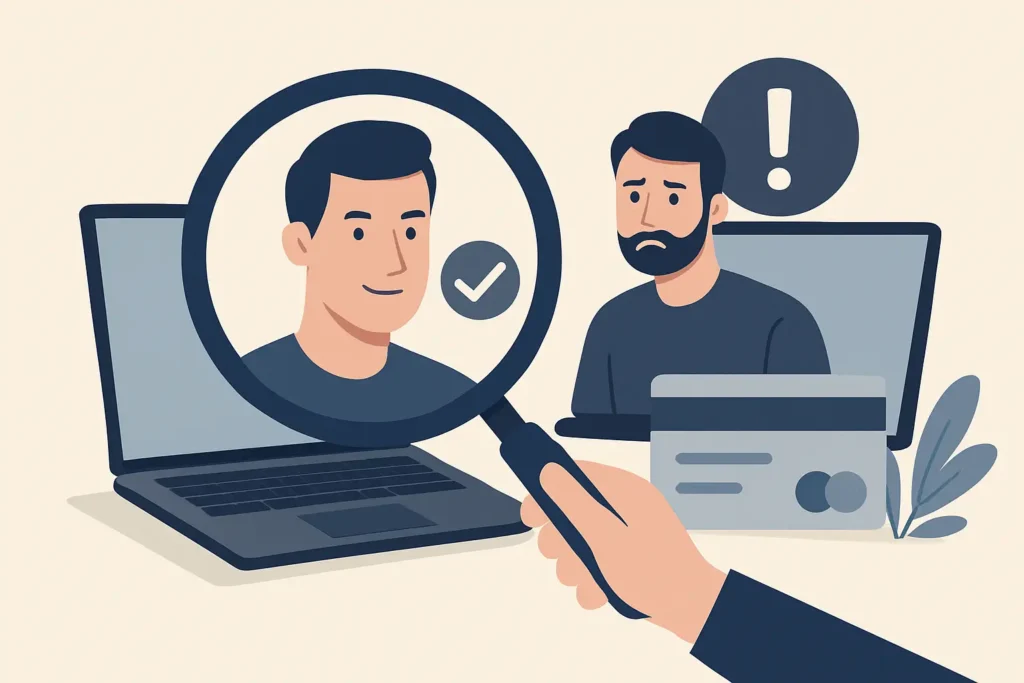
No matter the route, expect identity verification on most regulated exchanges. That is not you doing something wrong. That is the current US reality.
Step 2: Create the exchange account and lock it down
You are moving money. Act like it.
Use a unique password and turn on two-factor authentication using an authenticator app, not SMS. SMS can be hijacked. Also set anti-phishing codes if the exchange offers them, so you can verify real emails from fake ones.
This takes two minutes and saves you from the most common account drain scenarios.
Step 3: Buy USDT (and avoid the two classic rookie mistakes)
Inside the exchange, you will see a simple buy panel. Choose USDT. Choose your payment method. Confirm.
Here are the mistakes that cost people real money:
One, buying the wrong asset. USDT is not the same as USDC. Both are stablecoins, but a checkout expecting USDT will not accept USDC. Read the ticker.
Two, ignoring the spread and fees. Some apps show you “zero fee” but bake the cost into a worse price. If the app offers an “advanced” view, you can often place a limit order and get a tighter fill. If you are buying small amounts and speed matters, you can accept the simple buy – just know you are paying for convenience.
After the purchase settles, you will see USDT in your spot wallet.
Step 4: Confirm the destination details before you send
This is the part where grown-ups slow down.
You need three things from the receiver:
The wallet address, the network to send on, and the exact amount (if you are paying an invoice that needs to match).
If the receiver provides “USDT (TRC20)” that means Tron network. If they provide “USDT (ERC20)” that means Ethereum. Do not guess. Do not assume. Ask or check the checkout screen again.
Also watch for memos or tags. Some destinations (usually exchanges) require a memo/tag for certain assets. USDT usually does not require a memo when sending to a normal wallet address, but if a memo field appears, do not ignore it. If the receiver says “no memo,” leave it blank.
Step 5: Send a small test first (when it makes sense)
If you are sending a meaningful amount or you are using a new address for the first time, send a small test transfer first. Yes, it costs a little extra in network fees. That fee is cheap insurance.
If you are sending a small total and fees are high, a test might not be worth it. It depends. The point is to match risk to size.
Step 6: Withdraw USDT from the exchange to the address
Go to Withdraw or Send.
Select USDT.
Paste the destination address. Do not type it. Copy and paste.
Choose the correct network. This is the critical click.
Enter the amount. Consider leaving a little extra USDT to cover the exchange withdrawal fee if the fee is charged in USDT. Some exchanges charge the fee in the asset you are sending, others handle it differently.
Confirm.
Most exchanges will ask for 2FA and sometimes an email confirmation. Approve quickly, because some withdrawal sessions time out.
What “sent” really means: confirmations, delays, and receipts
Once you submit the withdrawal, the exchange usually marks it as “processing” first. That is their internal step. After they broadcast it to the network, you will get a transaction ID (TXID).
A TXID is your receipt. If anyone asks “did you send it,” the TXID is the answer.
Transfers can still be delayed even if you did everything right. Common reasons are exchange risk checks, network congestion, or maintenance windows. If it is stuck on “processing” for a long time, that is usually the exchange, not the blockchain.
Fees and speed: ERC20 vs TRC20 in real life
If you care about keeping fees low, the network matters.
ERC20 (Ethereum) is widely accepted but can be expensive when the network is busy. TRC20 (Tron) is often cheaper and fast for USDT transfers, but not every destination supports it.
So the move is not “always use TRC20.” The move is “use whatever network the receiver supports, then optimize within that.” If the receiver supports both, TRC20 is frequently the practical choice for routine payments.
Security checks that prevent disasters
Crypto is final settlement. There is no “chargeback.” That is the point, and it is also the risk.
Do a visual match on the first and last 4-6 characters of the address after you paste it. Clipboard malware exists. If the pasted address changes, stop immediately.
Avoid sending from public Wi-Fi. If you have to, use a trusted VPN and do not save passwords in the browser.
Keep your screenshots clean. Do not share your full wallet balances or personal details in “support” chats. Real support will not ask for your seed phrase. Anyone asking for a seed phrase is trying to rob you.
If your USDT hasn’t arrived: what to check in order
First, confirm the network you used matches what the receiver expected. If you sent USDT on ERC20 to a TRC20-only address, you did not “send it wrong” – you sent it to a different chain. Recovery may be possible in some cases, but it is not quick and often requires the receiver’s cooperation.
Second, confirm the address is correct. Even one character off means it is gone.
Third, check the TXID status. If it is confirmed on-chain, the transfer happened. If the receiver claims it is missing, they may be checking the wrong network or the wrong wallet.
Fourth, if the exchange still shows “processing,” you are waiting on the exchange. That is when you contact their support with the withdrawal ID.
The cleanest way to pay with USDT at checkout
If you are paying a merchant, treat their checkout like a lab protocol: follow it exactly.
Copy the address from the checkout screen. Select the network the checkout specifies. Send the exact amount requested unless they tell you to round up for fees. If the merchant asks you to include an order ID in the notes, do it.
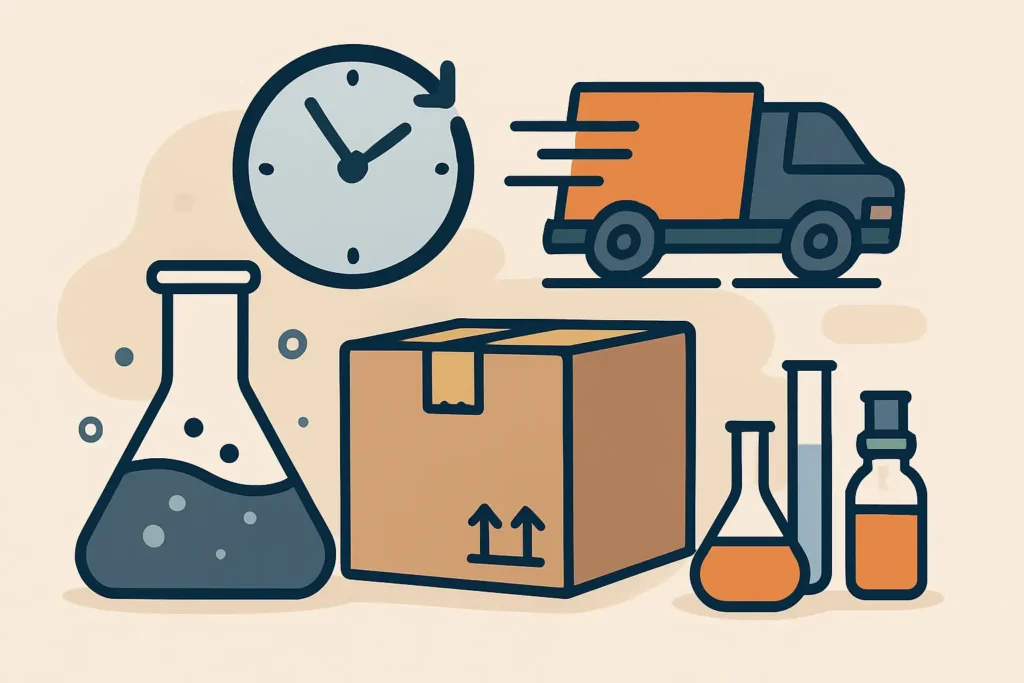
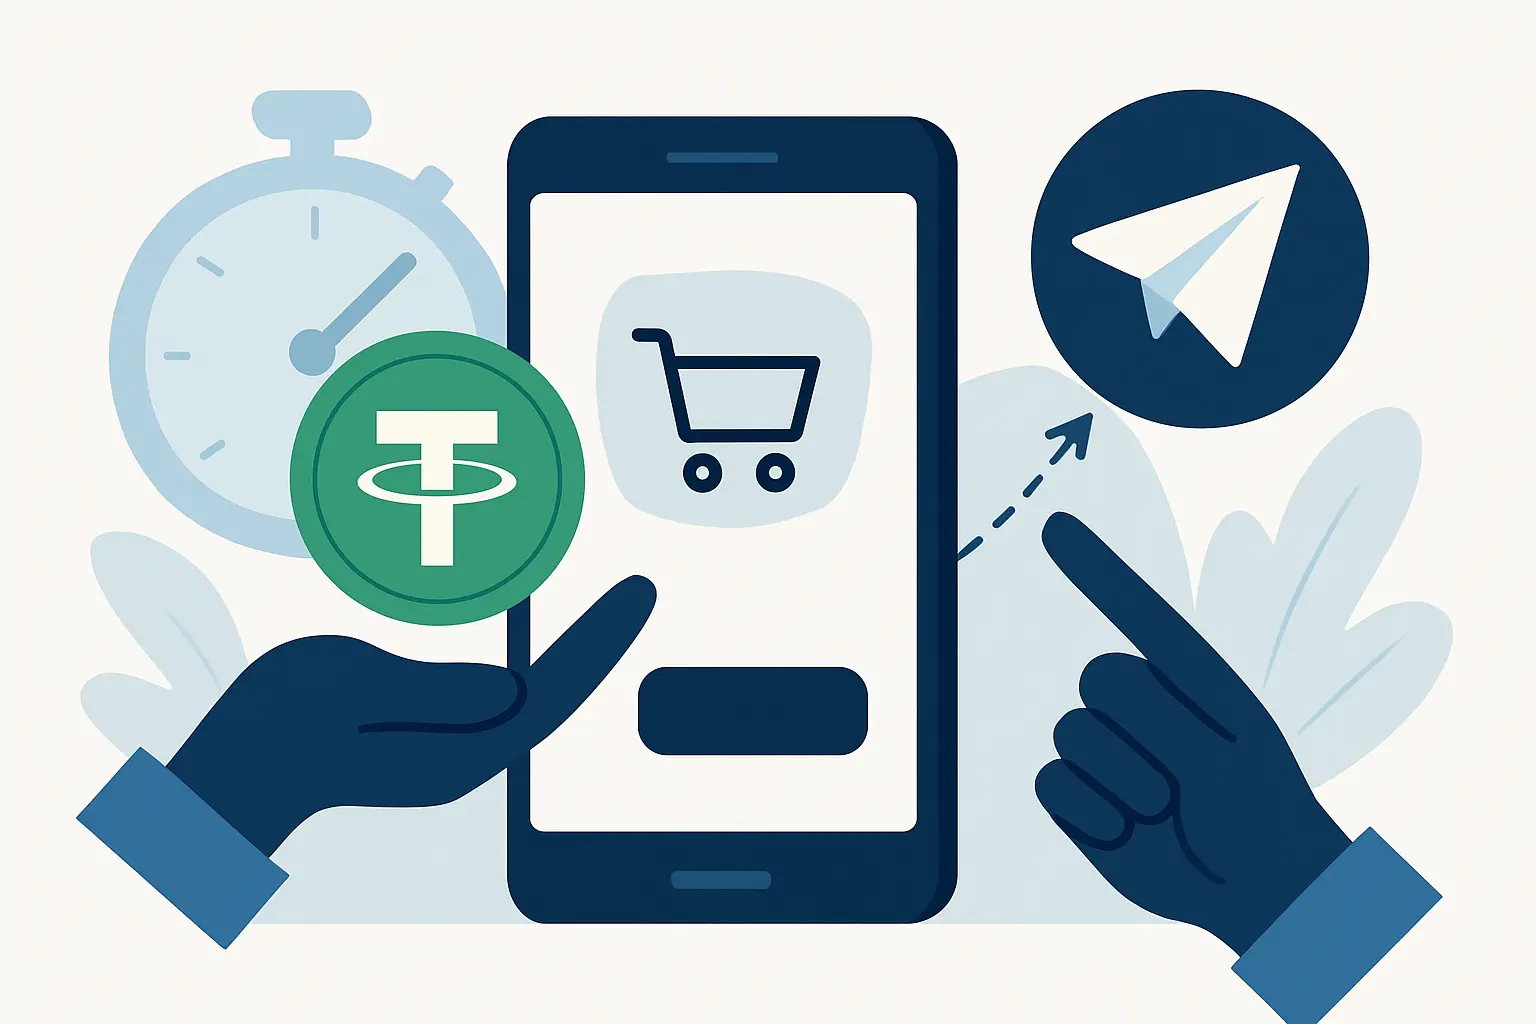
If you are buying from a crypto-only store like Official Chemistry King, USDT exists for one reason: fast, private settlement with predictable totals, so your payment can be matched and processed without drama. That only works when you send on the correct network and keep your TXID handy.
A closing thought you can actually use
Speed comes from repetition, but safety comes from discipline. The best habit you can build is simple: every time you send USDT, pause for ten seconds and verify network, address, and amount like you are about to hit “enter” on a six-figure wire. That tiny pause is what keeps your money moving forward instead of becoming a support ticket.